When buying a new home from a builder you’ll notice there are many different upgrades to choose from – this can be both very exciting and overwhelming. This is our story where we identify six smart upgrades to consider when building a new home.
This post may contain affiliate links; please see our disclaimer for details.
Our third real estate property is a brand-new single-family home. We went through a builder and chose some smart upgrades for investing.
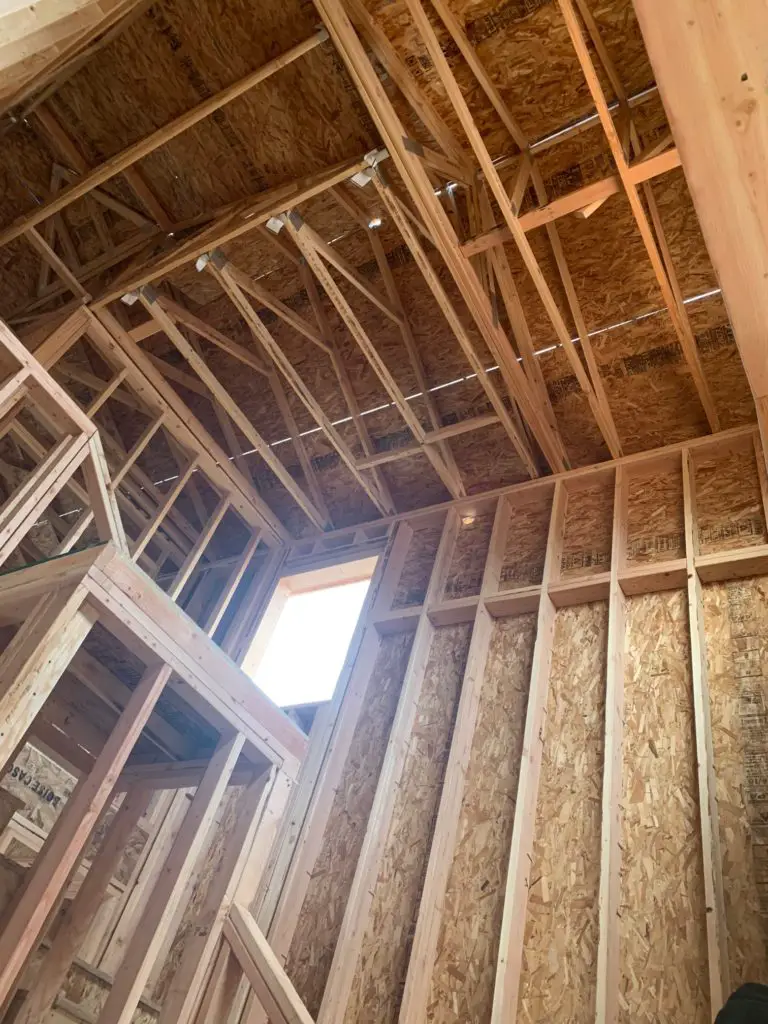
Construction began in July of 2020. The building process was very cool and took ten months to be finished. We officially closed on our new home in May 2021!
The most fun and exciting part for us was choosing upgrades for the exterior and interior of our new home.
A design center was available where we can choose options and upgrades the builder has available.
Many basic options were available where we did not need to pay anything extra – each builder is a little different on which options are free and which options are considered a paid upgrade.
We didn’t want to max out our loan and become ‘house poor’ so we did our best to stay calm at the design center – this was tough at times!
There are so many attractive upgrades that initially made us want to spend more money, but not all were smart upgrades that would add value in the long term.
Table of Contents
Only select the most necessary and smart upgrades.
These types of upgrades give the property more value, making it a better investment property in the future.
We first looked at a lot of different new home construction builders and the floor plans for each of their home models. Each builder offers different sizes of homes with different floor plan layouts for each one.
For example, a floor plan will show if a kitchen island is already included or if it can be added as an upgrade. Some models included granite countertops while others did not.
Make sure to ask your builder what is included in the base price for each model.
Getting Started: Structural vs Non-Structural Upgrades
New home upgrades are divided into two categories: structural and non-structural.
It’s important to consider structural upgrades first. Structural upgrades affect the structure of the new home and will need to be decided at the beginning of construction.
An example of a structural upgrade is to put a vaulted ceiling in the master bedroom.
Changing anything to the structure of the home after it is finished will be a big project and cost a lot of money.
Non-structural upgrades are more decorative and usually will be easier to change in the future.
For example – lighting fixtures or a kitchen backsplash. Adding these types of non-structural upgrades yourself can save you a lot of money.
Here are the 6 smart upgrades you should consider when buying a new home. We’ve added a bonus #7 as well!
Smart Upgrade #1 – Kitchen
The kitchen is without a doubt an important focal point of a home.
If you plan to rent out or sell your home in the future, a beautiful kitchen will go a long way to attract potential renters or buyers.
We did a total of 4 upgrades for our kitchen:
Kitchen Island
Having a kitchen island has always been my wife’s dream. Our past two real estate properties did not have one.
Many new house construction builders include kitchen islands in the basic home models, but ours did not. So to include it was an upgrade but totally worth it.
Not only is it attractive to future renters or buyers, it made my wife happy! Happy wife = happy life. 🙂
Granite Countertops
We upgraded our kitchen countertops to be granite countertops, including our kitchen island.
This upgrade was one level above the most basic countertop type but very worth it since granite is durable and lasts a long time. It can also withstand a high level of heat.
Upgraded Cabinets
The type of cabinets included in the basic plan was older looking with only a couple of color options.
We upgraded to the next level of cabinets that were smooth and more stylish. We were also able to choose a light gray color that coordinated great with our floors.
Staggered Cabinets
Having high cabinets always look so nice, but is so expensive to upgrade to have taller cabinets. The person at the designer center told us we can do staggered cabinets, meaning only a few cabinets will be a little higher than others.
This sounded like a great option and looked very nice. More important is it only cost around $150!
For this price, we had no reason to refuse, haha.
Smart Upgrade #2 – Laminate Floors
Many builders, including our own, have carpet in the living room area as the basic plan. We felt it necessary to upgrade to laminate floors on the entire first floor.
Laminate flooring looks just like a wood floor and improves the look of the home.
When you decide to rent or sell, it will be more stunning in the pictures and more attractive for buyers or renters.
Laminate floors are also easier to clean compared to cleaning carpets. Especially when pets are in the picture!
We got a Samoyed puppy named Tofu after 2 months we moved into our new home. The laminate floor saved our lives during the potty-training process.
Our plan originally was to upgrade to LVP floors which are waterproof and scratchproof. Turns out it was pretty expensive for this upgrade. With our builder, it would have cost $5000 to convert our kitchen, dining room, and living room area to LVP flooring.
We then asked to see how many house buyers did the LVP upgrade. He said in his memory he only knows 2 or 3 house buyers who upgraded to the LVP floor. Basically, 99% did laminate flooring and had no issues even with pets.
We followed his direction and haven’t regretted it!
Smart Upgrade #3 – Lighting
We do not recommend spending money to upgrade your lighting fixtures but some common areas do need more lighting to make your house brighter during the night. One such area is the living room.
No one wants the house to be dark when friends come to play, or when children play with toys or read books.
There will never ever be too much lighting in your home. Having adequate lighting in all suitable places is essential for everyone in the house’s comfort and enjoyment.
Our builder also said that whenever they make a spec home, they will add 4 can lights in the living room. We felt this was a wise and smart upgrade for our new home.
Smart Upgrade #4 – Vaulted Ceiling
As mentioned before, making a ceiling vaulted is a structural upgrade. If you want this upgrade make sure the builder knows sooner or later since it would be a huge project to change in the future.
My parents own a rambler (two-level house). They have a vaulted ceiling on the main level. Their living room, dining room, and kitchen feel very spacious and open.
Our house is a three-level house, and we had the option to upgrade our master bedroom to have a vaulted ceiling.
Many home models had a large master bedroom. For example, the model home created by our builder had a vaulted ceiling that looked very nice.
Our home model however is the smallest one the builder offers in our community, so our master bedroom is much smaller. We felt it is was not worth it to spend a lot of money on the vaulted ceiling upgrade for a small master bedroom.
If we were in a similar home as my parents or had a large master bedroom then we would definitely consider upgrading to a vaulted ceiling.
Smart Upgrade #5 – Water Softener
I don’t know what your area or city is like, but we here in Utah have hard water. Adding a water softener is very important to protect your pipes and appliances.
The two properties we bought before did not have any water softener. One is a townhouse built in 1970 and the other one is a condo built-in 2002. We could see how the water has left many hard water stains.
Considering the long-term, water softener saves will help save money.
With our builder, it costs $1900 to install a water softener with everything.
If you are a handyman or have a handyman family member or friends, you can choose to just do the rough-in and then install the main water softener appliances by yourselves later after you moved.
This would definitely be the most cost-effective option. For our builder, the rough-in only cost $300.
Smart Upgrade #6 – Railing
Many builders will not offer a railing for free but have a mini wall instead. Having a nice see-through railing is a paid upgrade but does make a home feel more open and spacious.
Someone we know bought a new townhome that has an open-to-below ceiling in the living room. He upgraded the railing going up the stairs which looks amazing.
We don’t have an open-to-below living room and do not feel it is worth it to spend the money to upgrade for our type of model.
We love open-to-below living room designs and it’s our dream to build a house that has an open-to-below living room in the future. If in the future we really have a chance to build our dream home, we will upgrade the railing for sure!
Bonus Smart Upgrade #7 – Basement Apartment
These two structural smart upgrades are important if you’re thinking about renting out your basement: separate entrance basement door and rough-in plumbing.
Planning for those in advance will save your time and money.
Imagine having to drill through concrete in a basement to add a separate basement entrance door and piping. That doesn’t sound easy or cheap!
Recap of all 7 smart upgrades
- Kitchen Upgrades
- Laminate Floor
- Lighting
- Vaulted Ceiling
- Water Softener
- Railing
- Bonus – Basement Apartment
We know many people who have maxed out their loans when buying a home. They all have a very high DTI (debt to income ratio) which ends up around 45%.
Don’t let that happen to you!
45% of your pre-tax income all going to debt?! This is a big NO-NO for us.
When applying for our house loan our goal was to keep all house costs (mortgage+utilities+internet) under 30% of our net income.
30% with everything included is a healthy percentage. We don’t want to max out our house loan debt because we’d rather not be house poor and have healthy cashflows.
By keeping our mortgage payment as low as possible we are able to have extra cash to save and invest – woohoo!
When you walk into the designer center, remember your budget, and stick with it!
I still remember the builder telling us how if we spend $5,000 more on upgrades, that breaks down to around $25 a month for 30 years.
This is a trap! Having too much debt is a trap.
Our builder gave us seven days to change our upgrades without any additional fees. If your builder does the same, then you have a ‘calm down’ period to consider what is most necessary and suitable for your family after you go home. We took away a few things that we didn’t feel were necessary within those seven days.
We’d love to hear what smart upgrades you’ve done! Please leave a comment or question below.
Disclaimer:
We hope the information in this article provides valuable insights to every reader but we, the Biesingers, are not financial advisors. When making your personal finance decisions, research multiple sources and/or receive advice from a licensed professional. As always, we wish you the best in your pursuit of financial independence!